7 min read
Grow Two Tomatillos and Check the Husks in Stages
Plan two independent seedlings with overlapping bloom and use a short record to investigate husks that remain empty.
On this page
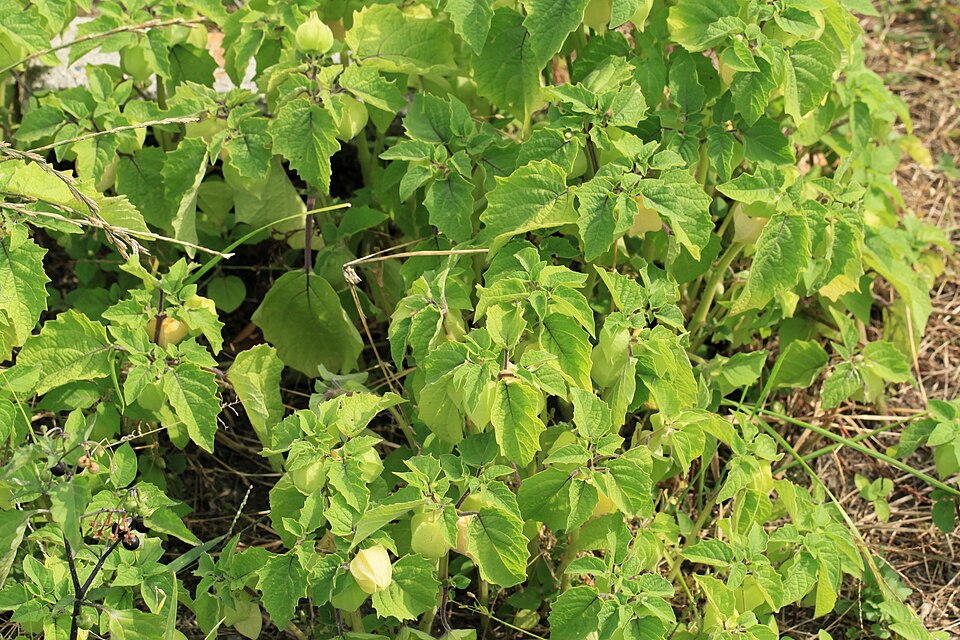
A tomatillo can make an impressive paper lantern before the fruit inside it is much bigger than a marble. During early development that can be ordinary. Later in the season a series of empty husks can leave the gardener wondering whether the plant had suitable pollen, useful weather or time to grow. Begin with two plants raised from separate seeds and give them room to flower at the same time. Then watch several sets of flowers, looking at the arrival of the husk and the way it fills. That sequence tells you much more than squeezing one apparently full husk weeks before the usual harvest.
Tomatillos are warm-season vegetables grown for fruit enclosed in a papery husk. Different cultivars reach usable color at different stages. Some are harvested green when the firm fruit substantially fills the husk, and particular cultivars mature to purple or yellow. Choose named planting stock and keep the label so you know what characteristics to check. Use a verified edible tomatillo cultivar and distinguish the proper harvest stage from any immature fruit whose identity or condition is unclear.
Start two plants that can actually cross pollinate
For a dependable crop, grow at least two genetically distinct seedlings with overlapping flowering. They can be from a suitable variety that matches your season. Two branches of a plant or two cloned cuttings do not provide distinct genetic partners. Some plants or varieties are more capable of setting fruit alone than others, and two independent plants provide a more convenient starting point than waiting to see if a single one will crop. Leave room for more only if you can manage their mature reach.
Minnesota Extension describes an indoor head start of roughly four to five weeks before suitable outdoor transplanting. Use that as a regional example. Work backward from a local period with warm soil and little frost risk, and plan for acclimation to outdoor light and wind. Give seedlings ample light and enough room to produce sturdy, manageable stems. A plant held in a very small cell beyond its useful stage can arrive in poor condition even on a warm day. Label the seedlings separately even if they came from the same packet, so you can record which flowers and husks you are following.
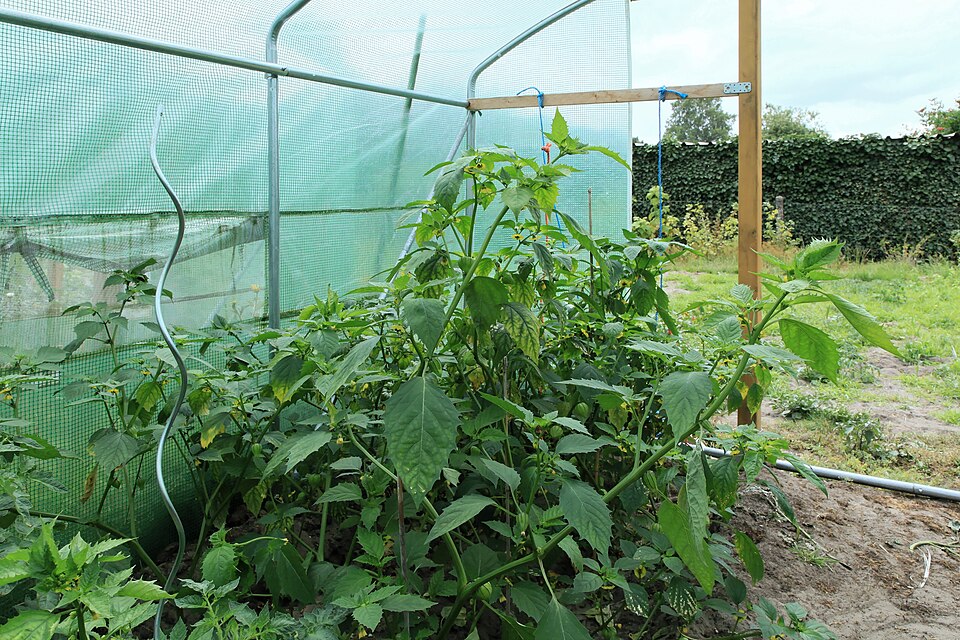
Set the transplants into a sunny, draining bed once conditions suit. Water to settle their roots and continue reasonable moisture as plants establish. Leave enough mature space to look at both plants. Vigorous types may need about three feet, or 90 centimeters, between them, with adjustment for the maturity size and kind of support you use. A giant unrestrained plant in the only path will make it hard to inspect the second plant just when they begin to flower.
Fit the support before branches fill the space
Use a sturdy cage or comparable support if needed. Set it in place early so stems can grow through open sections without being forced. Keep each support stable and leave an approach that lets you see leaf and flower growth on either side. If you are using temporary protection early in the season, plan for removing it when flowers open so pollinating insects can reach them. An insect-excluding cover left in place during bloom can undermine a good setup with two separate plants.
Check moisture below the surface in warm weather. The goal is reasonably even moisture while the root area and fruit develop. Let excess water drain after a soak. Use soil test recommendations rather than assuming every plant needs frequent fertilizer. Heavy nitrogen can favor excessive foliage, which also makes the fruit harder to observe. Compare the strongest leafy growth with the number of flowers, and keep track of whether the leaves stayed healthy through weather changes. A dark green plant can still have other obstacles to fruit set.
When branches grow beyond the supports, guide flexible stems gently. Keep blossoms free and open. A long branch with several buds can remain productive if you give it a route beside the cage. An obstructing stem can be tied loosely or moved in a gentle curve. Do not try to push an entire mature plant back through a small opening. The growing points you can reach will serve as useful monitoring stations. Mark one low branch and one higher one where you can observe both plants without tearing leaves.
Follow three groups of flowers
At first bloom, note whether both plants have open flowers at the same time. Look for insect activity when conditions allow and observe from a distance. Mark a few flowers on a sketch rather than tying anything around the flower stem. Take a photo if that helps you find the same group later. Track the date and any unusual heat or cold that occurred while those flowers were open. Temperature extremes can interfere with fruit set, so a poor result after one spell does not prove there is a pollination issue throughout the season.
Check the same groups after several days, leaving them enough time to develop. A husk can expand before the fruit fills it. Feel gently if needed without squeezing the fruit or breaking the stem. Look at a second group that bloomed under more typical weather. If flowers on both plants are open together, insects can reach them and several groups later produce fruit, the earliest empty husks may be part of the weather or ordinary losses. If one plant consistently flowered well before the other, closer overlap is something you can address next season.
If fruit does not appear despite several rounds of bloom, revisit the practical factors first. Is there a second independent seedling? Could insects reach both? Was the soil moisture uneven while flowers opened? Did the first events take place through unexpected temperatures? Observe what changed before buying another variety or assuming the plants need more feed. One group that formed fruit under different conditions gives you a more useful clue than a strong general impression of the crop.
Compare recently opened flowers with later ones
Treat the marked groups as separate observations. Draw a simple table with one line for the plant, a second for the weather and a third for the date a small fruit finally became visible. Give each group enough time for the fruit to begin to develop. If you find partly filled husks above the newest ones, note both levels rather than picking the entire branch to check. A cluster that filled after nights warmed will make the next visit more informative, even if the earliest husks remained empty.
Recognize fruit that is ready inside the husk
Harvest according to the chosen cultivar. For many green tomatillos, a full sized, firm fruit that substantially fills its husk is ready while still green. The husk may begin to split depending on the shape and size. A big paper lantern with almost no fruit is a different stage. The color of a known green cultivar at the right stage should be read together with firmness and size. Purple or yellow varieties have their own progression. Look for a plant label and use a reliable growing reference for the type.
Pull a usable fruit without twisting other productive stems, or use clean snips where appropriate. Peel off the husk and rinse away the natural sticky surface film before using ordinary produce handling and preparation. Check fruit that fell to the ground for damage. Set aside soft, damaged or suspect material. Regularly remove fallen fruit you will not use if you want to avoid volunteers. A volunteer can be hard to distinguish from a nearby relative when different crops with husked fruits are grown together. Keep the original planting clearly identified.
Record the first reliably filled husks and the plant they came from. A single crop can take longer than expected to reach that stage in a cool summer. Note whether you could reach the best groups without moving the support. If the plant produced most fruit on the side that faced the other seedling, you may wish to put the next pair in an equally accessible position and compare again. Do not assume direction alone proves how each fruit was pollinated. The note is useful for picking and observing the next pair.
Adjust one part of the planting next year
If the calendar gave poor overlap, choose plants with more similar flowering windows and start another pair at an appropriate time. If summer weather was the likely limit, try locally suitable varieties and a planting period with a reasonable chance of reaching warm conditions. Where support was the main trouble, strengthen it and leave clear space for both root zones. You can solve access without altering the sampling you did for flower timing.
A short record from two plants can include the date of outdoor planting, the first shared bloom, a spell of unusual weather and the first firm fruit that filled a husk. Keep those dates with the label. They tell you when to inspect the next patch and when to stop judging it by the empty shape of the earliest husks.
Further reading: University of Minnesota Extension guide to tomatillos and ground cherries.