7 min read
Make a Clean Landing Area for Ripe Ground Cherries
Give a sprawling plant room, keep its ripe fallen berries together and learn which fruit to leave or discard.
On this page
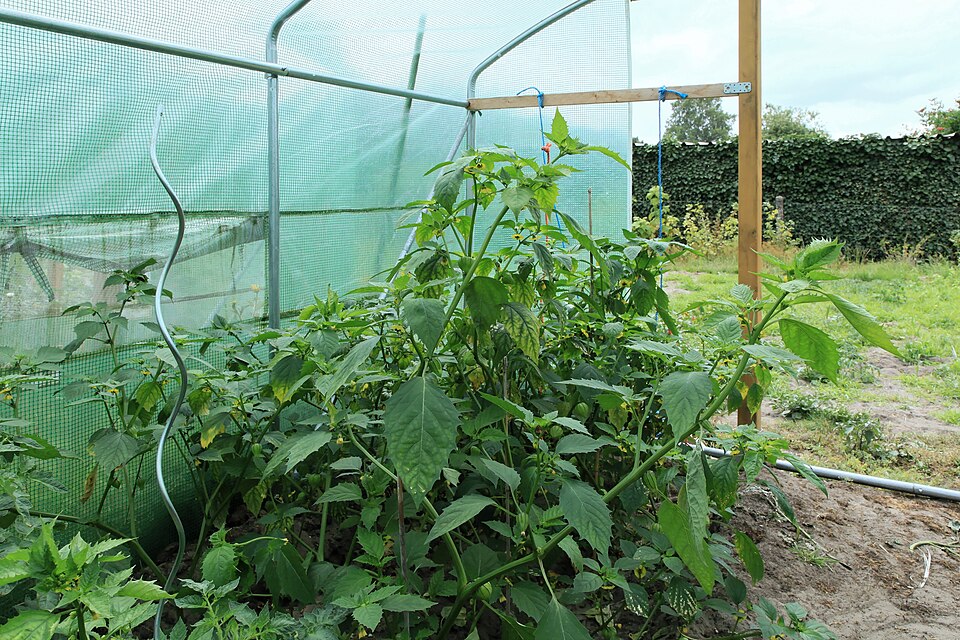
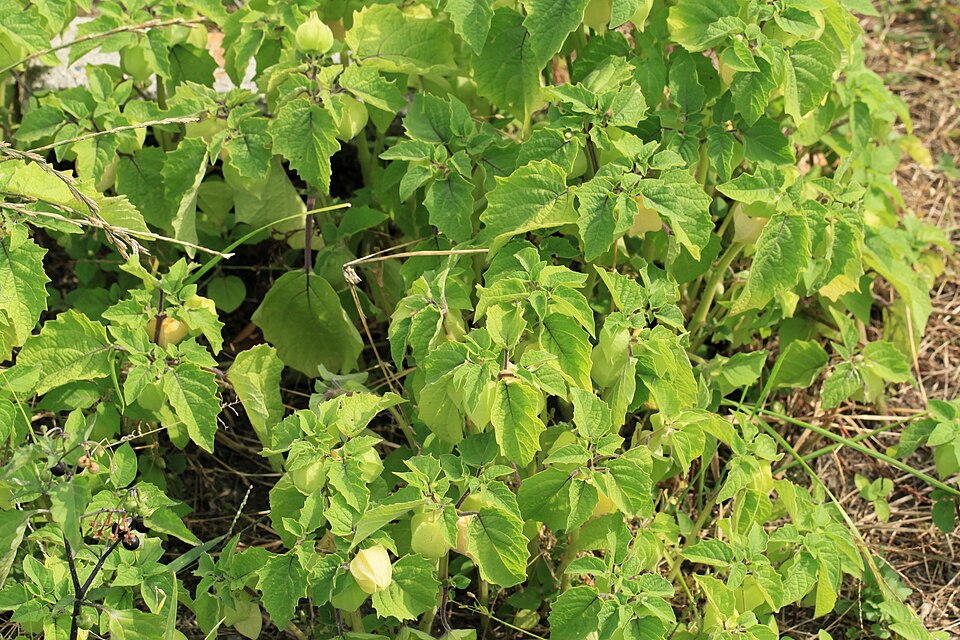
The best place to find ripe ground cherries is often underneath the plant. A close look at the branches may show a lot of green husks while the fruit that is ready lies in the soil below. Prepare the ground beneath a mature plant before its stems spread over the bed. A light-colored clean surface, an open access edge and enough room for a shallow container can turn a slow search into a manageable harvest. Start with a small number of plants. You will learn how wide they become and how much fruit you can reliably collect.
Grow a commercial edible ground cherry of verified identity, such as a labeled cultivar of Physalis pruinosa. The name ground cherry is used for more than one species, and a wild plant with a similar husk does not establish that the fruit is edible. Use only fully ripe fruit from a known culinary cultivar. Discard unripe or damaged berries and avoid leaves and other plant parts. Keep the plant and seed label with the bed. This guide applies to a planted edible crop and uses the variety's ripe characteristics rather than trying to identify food by appearance in the wild.
Reserve a strip beside the fruit’s landing area
Measure enough space for a low spreading plant. A reasonable first spacing for many garden types is about 18 to 24 inches, or 46 to 61 centimeters, with adjustment for the variety and the vigor of the bed. Leave an accessible side at the edge where stems will be easiest to lift. You can place a walkway between adjacent plants or maintain a narrow open margin across the front of the row. The useful width is the width of the mature canopy, not just the narrow space occupied by the original nursery pot.
Choose a sunny site that drains. A bed near the area where you already pick vegetables may be more useful than another site that stays warm but requires you to make a separate trip. Watch where irrigation runs before setting the plants out. Fruit falling into a persistently wet depression will be more difficult to check and collect in good condition. Give water a route away from the collection surface and keep the soil accessible below it.
Think ahead about the shadow cast by the branches. Leaves in a warm part of the bed can extend to the path and keep the ground beneath dim even in full daylight. Before fruit develops, see how far you can reach around a low healthy branch. A light support or simple edging can help hold the outer growth away from the walking line, provided it is stable and does not press on the stem. It need not turn the plant upright. Give fruit a short clear fall and give yourself a way to see below it.
Start with a plant that can use the warm season
In cooler summer regions, an indoor start can help. University of Minnesota Extension describes starting ground cherries about six to seven weeks before the intended outdoor planting. Use local information for your own frost timing and soil conditions, along with the seed packet. Provide appropriate warmth for germination and enough light for sturdy seedlings. Acclimate transplants before setting them outdoors after frost risk has passed and the soil has warmed. A slow, cold start can delay the season in which you are able to collect fruit.
Water new transplants while the roots enter the surrounding soil. Maintain reasonably even moisture during growth and fruit development, without leaving the root zone saturated. An established plant can take some heat and dry conditions, but you still want healthy growth and accessible sound fruit. Avoid routine heavy nitrogen in a suitable bed. Excess leaf growth makes the collection area difficult to inspect and can come at the expense of useful fruit. Use soil test recommendations where available.
Remove weeds before the lower branches cover the ground. A plant that stays low can hide a fast-growing weed until its roots become difficult to separate. Keep a little open soil available where you can test moisture. As the plant becomes wider, apply water where it reaches the roots without soaking every ripening husk on the surface. An accessible edge is useful for both watering and harvesting. Clear debris that gets caught in low branches before it covers the space where dropped fruit will fall.
Put down an easy surface to inspect
Lay a shallow layer of clean weed-free straw where ripe husks are likely to land. Use enough to make a sound fallen husk visible and reduce soil contact, and keep it loose so it does not create a wet mat around the stem. Leave a small area clear at the base and watch what wind does to the straw during a normal day. Adjust the edge before ripe fruit starts to fall. Thick pieces of mulch or piles of leaves can conceal a small fruit almost as effectively as bare soil in poor light.
Check the first few falls. Reach underneath without lifting more stem than you need to. If several fruits lie beyond the straw, extend the clean area a little or move loose material to cover that spot. Check that no plants from the neighboring row have bent down over the way you planned to reach in. A shallow container set nearby makes it easier to distinguish fruits that need inspection from those you have already accepted. Check after rain, when papery husks can be damp and more difficult to see.
Use the mulch only as long as it stays useful. Remove or replace patches that remain very wet or are mixed with spoiled fruit. A surface clear of old husks makes the following day's collection faster. Maintain the space you use for inspecting the ground, rather than moving a lot of branches after every harvest. If fruit consistently falls into a hard-to-reach corner, support a few low stems gently or leave a way to reach them from the other side next season.
If several sound ripe berries consistently roll to the lowest end of the straw, use that information to place an accessible collection edge. Bring the straw a little farther around the outside of the plant and check that the soil still drains. Leave enough open ground near the stem for watering. In a raised bed the lowest end can be the place where branches hang over the board. Guide only the branches that repeatedly lose fruit outside your reach. An easy route to one side is worth keeping even if a few fruits still fall elsewhere.
Verify ripe color and sound fruit
On a known edible cultivar, ripe fruit generally turns the cultivar's expected yellow or golden color as the husk becomes dry and papery. It commonly drops when ready. Pick up sound fallen husks regularly and examine the berry after removing the husk. Check both the full ripe color appropriate to the variety and the condition of the fruit. Discard green or unripe berries, fruit with decay and any fruit of uncertain identity. A dropped fruit is a cue to inspect it rather than proof that it is ready or sound.
Gather into a shallow container without squeezing the fruit. Handle it with normal produce hygiene and keep only sound fruit for use. If you store a small amount briefly in its husk, use clean, sound, dry fruit and follow local extension advice on conditions and storage time. Check before using it and discard damaged pieces. The ripe berries you intend to use and the pieces you are removing to prevent volunteers should go in separate containers from the start.
Pick up ground cherries that you do not intend to eat too. Berries left in the collection area can contribute seed and make the next batch harder to see. In the following growing season, inspect the ground for volunteers and remove unwanted ones while small. Do not treat a volunteer growing among unrelated plants as automatically safe or identical to the original cultivar. Start a new known crop from labeled seed where identity matters, and keep the new label close to the collection edge.
Let one season tell you how many plants to grow
Mark the first and last weeks in which you gathered sound ripe berries. Compare the fruit you found on the straw with the husks that collected beyond it. If the plants provided plenty but needed much more room than you allowed, use a wider landing area next season and grow fewer plants. If most fruit was reachable from one convenient edge, repeat that position and leave space to water the root zone outside the straw.
A mature plant can fill a fairly large opening while offering only a small quantity at each visit. Keep the planting within a comfortable reach and maintain a surface that makes the newest ripe fruit easy to see. That way the useful part of harvest is finding and checking the berries, without spending much of the visit trying to move the plant out of your way.
Further reading: University of Minnesota Extension guide to ground cherries and tomatillos.